How to finish a crochet blanket

A crochet blanket can be a beautiful addition to your home or a wonderful gift for a loved one.
If you have been diligently following a pattern (or the set of instructions that can be found in crochet blanket kits) and you’re approaching the end, it’s natural to start to feel excited about your accomplishment. But if the final step of your pattern simply says to tie or fasten off and you’re not sure exactly what that means, don’t panic.

A guide to tying off crochet
Once you have crocheted the final stitch, here’s how to finish your flat row project:
1. Cut your yarn
When cutting your yarn, make sure to leave a tail that is at least five inches long. However, if you want to use a whip stitch to attach your project to something else, start by measuring the edge you want to attach and multiply that number by three to determine how long your yarn tail should be.
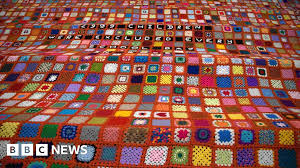
One of the most common reasons for wanting to use a whip stitch is when making a blanket made up of individual granny squares. Granny square blankets can be easily personalised with different designs and there are crochet blanket kits out there which come complete with detailed instructions and everything you’ll need to get started. And as this Real Homes article says, even Hollywood A-lister Amanda Seyfried has one.
2. Yarn over the hook and pull through
Now your hook only has one loop on it, you can catch the tail of the yarn on your hook. Next, pull towards the loop, just as you would if you were making another chain. However, rather than creating a new loop, pull the yarn all the way through instead. This will make a knot, which can be easily tightened by pulling gently on the tail.

- Weave in the endTake a tapestry needle and weave in the remaining tail of yarn through the top row of stitches in your project. This will secure your project, prevent it from unravelling and give it a neat, professional finish.
